How to Remove Heavy Tarnish from Silver Jewelry
Table of Contents
- How to Remove Heavy Tarnish from Silver Jewelry: A Step-by-Step Guide
- How to Clean Sterling Silver Jewellery: Light Tarnish vs Heavy Tarnish
- How to Remove Tarnish from Silver with Baking Soda: Two Safe Methods
- How to Clean a Silver Chain That Has Gone Black
- Materials and Supplies You Need for At-Home Cleaning
- Rinsing, Drying, and Polishing Silver with a Soft Cloth
- Jewellery-Specific Exclusions and Construction Risks
- Methods to Avoid and When Home Cleaning Is Not Enough
- Frequently Asked Questions
Last Updated: October 19, 2026
How to Remove Heavy Tarnish from Silver Jewelry: A Step-by-Step Guide
Heavy tarnish turns silver jewellery from bright to brown-black, and it will not lift with a quick wipe. You will also learn what to avoid, which pieces to keep away from water entirely, and how to store silver so the darkening does not come straight back.
Tarnish is a surface layer, not damage to the metal underneath. That matters, because it means a careful clean can restore the shine without thinning the piece. It also means the wrong method can scratch the silver surface or loosen settings.
How to Clean Sterling Silver Jewellery: Light Tarnish vs Heavy Tarnish
Most guides jump straight to a method. The more useful first step is a diagnosis, because the right treatment for a faint haze will damage a blackened chain, and the right treatment for a blackened chain is overkill for a lightly dulled ring.

Read the tarnish before you touch it
Work through these checks in order. Stop at the first one that matches.
- Colour. A faint yellow, grey or slightly cloudy cast is light tarnish. Dark brown, black, or blue-black is heavy tarnish. Black crusting in the recesses of a chain or around a setting is heavy tarnish plus age.
- Evenness. Tarnish that sits in a thin, even film usually lifts with a polishing cloth or a short bath. Tarnish that is patchy, crusted, or concentrated in crevices needs a solution to reach it.
- Texture. Run a fingertip over the dark area. Smooth metal under the tarnish is a good sign. Rough, gritty or pitted metal means the surface has already been attacked, and no home method will restore it, polishing will only make the pits more obvious.
- Construction. Look for stones, pearls, glued settings, hollow sections, plated edges and deliberate dark (oxidised) detail. Any of these narrows your options before tarnish severity even matters.
- Hallmark. A British hallmark tells you the fineness, for example, the 925 mark for sterling silver. Plated pieces are usually unmarked or marked with a different convention, and they need the gentlest possible approach.
Match the method to the diagnosis
| What you see | Tarnish level | First method to try | Why |
|---|---|---|---|
| Faint haze, smooth metal, no stones | Light | Polishing cloth only | Lifts the film without wetting the piece |
| Localised dark patch on a plain surface | Moderate | Bicarbonate paste, light pressure | Controlled and confined to the patch |
| Chain or multi-link piece gone brown-black | Heavy | Foil and hot-water bath | Reaches into links a cloth cannot |
| Dark tarnish under a stone or in a closed setting | Heavy, inaccessible | Professional clean | Home methods cannot reach it safely |
| Rough, pitted or flaking surface | Damage, not tarnish | Professional assessment | Further cleaning worsens it |
| Plated, vermeil, glued settings, pearls, porous stones | Any | Spot-clean only, or professional | Water and heat risk the finish or the setting |
The two questions that decide everything
Ask yourself two things before you pick up the bicarbonate of soda.
- Is the dark layer sitting on top of smooth metal, or has it eaten into the surface? If the metal is smooth, a cleaning method can work. If it is rough, you are past cleaning and into repair.
- Can the piece safely get wet? Plain sterling silver can. Pearls, opal, turquoise, malachite, glued settings and plated finishes cannot, or should not, and they need spot treatment or a jeweller.
A useful rule of thumb: the heavier the tarnish, the more you need a solution rather than a cloth, but the more delicate the piece, the more you need to avoid solutions altogether. When those two pressures collide, the piece goes to a professional.
How to Remove Tarnish from Silver with Baking Soda: Two Safe Methods
Bicarbonate of soda is the most reliable household ingredient for tarnish removal, and both methods below are gentle when used correctly. The paste suits localised patches. The foil-and-hot-water bath suits a whole piece, especially a chain with many links.
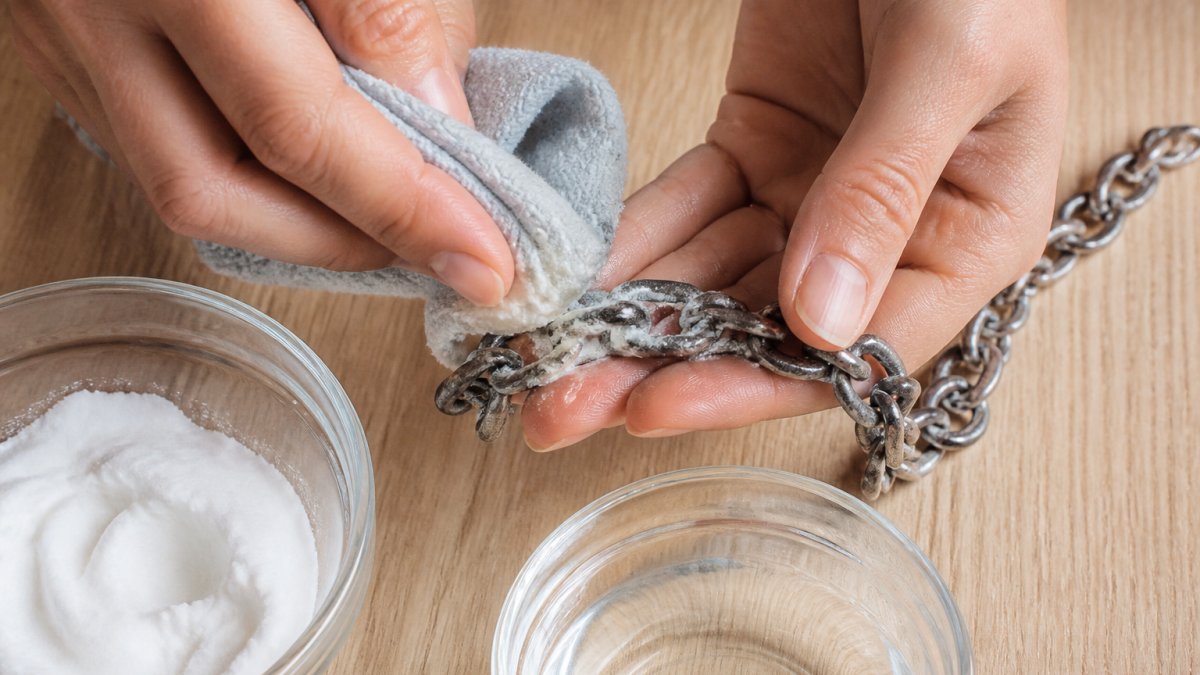
The Baking Soda Paste Method for Localised Tarnish
Use this when the tarnish sits in one area, such as the face of a ring or a single dark patch on a bracelet.
- Mix two parts bicarbonate of soda with one part water to form a thick paste.
- Apply the paste to the tarnished area with your finger or a soft cloth.
- Rub gently in small circles for one to two minutes. Do not scrub hard.
- Add a drop of water if the paste dries out.
- Rinse under lukewarm water and pat dry.
Bicarbonate of soda is a mild abrasive, so gentle pressure is the whole point. Pressing hard on a polished surface leaves fine scratches that show up in bright light.
The Baking Soda, Aluminium Foil, and Hot-Water Method
This method works on a simple chemical principle: the foil and the solution pull the tarnish off the silver surface and onto the foil. It reaches into chain links a cloth cannot.
- Line a shallow bowl with aluminium foil, shiny side up.
- Place the silver jewellery on the foil so it touches the foil.
- Sprinkle one to two tablespoons of bicarbonate of soda over the piece.
- Pour boiling water over it to cover the jewellery.
- Add a splash of white vinegar if the tarnish is stubborn.
- Leave for three to five minutes, then check progress.
- Lift the piece out with tongs, rinse in lukewarm water and dry.
Do not leave silver soaking for long periods, and never use this bath on pieces with stones, pearls or glued settings. The heat and the solution can loosen them.
How to Clean a Silver Chain That Has Gone Black
A chain that has gone black all over is the classic heavy tarnish case, and the foil bath is the right first move.
Follow the foil-and-hot-water method above, then work through the chain link by link with a soft cloth.
If one section stays dark after two attempts, the tarnish may have sat long enough to pit the surface. Stop there rather than scrubbing harder.
Materials and Supplies You Need for At-Home Cleaning
Gather everything before you start, so the silver is not sitting wet while you hunt for a cloth.
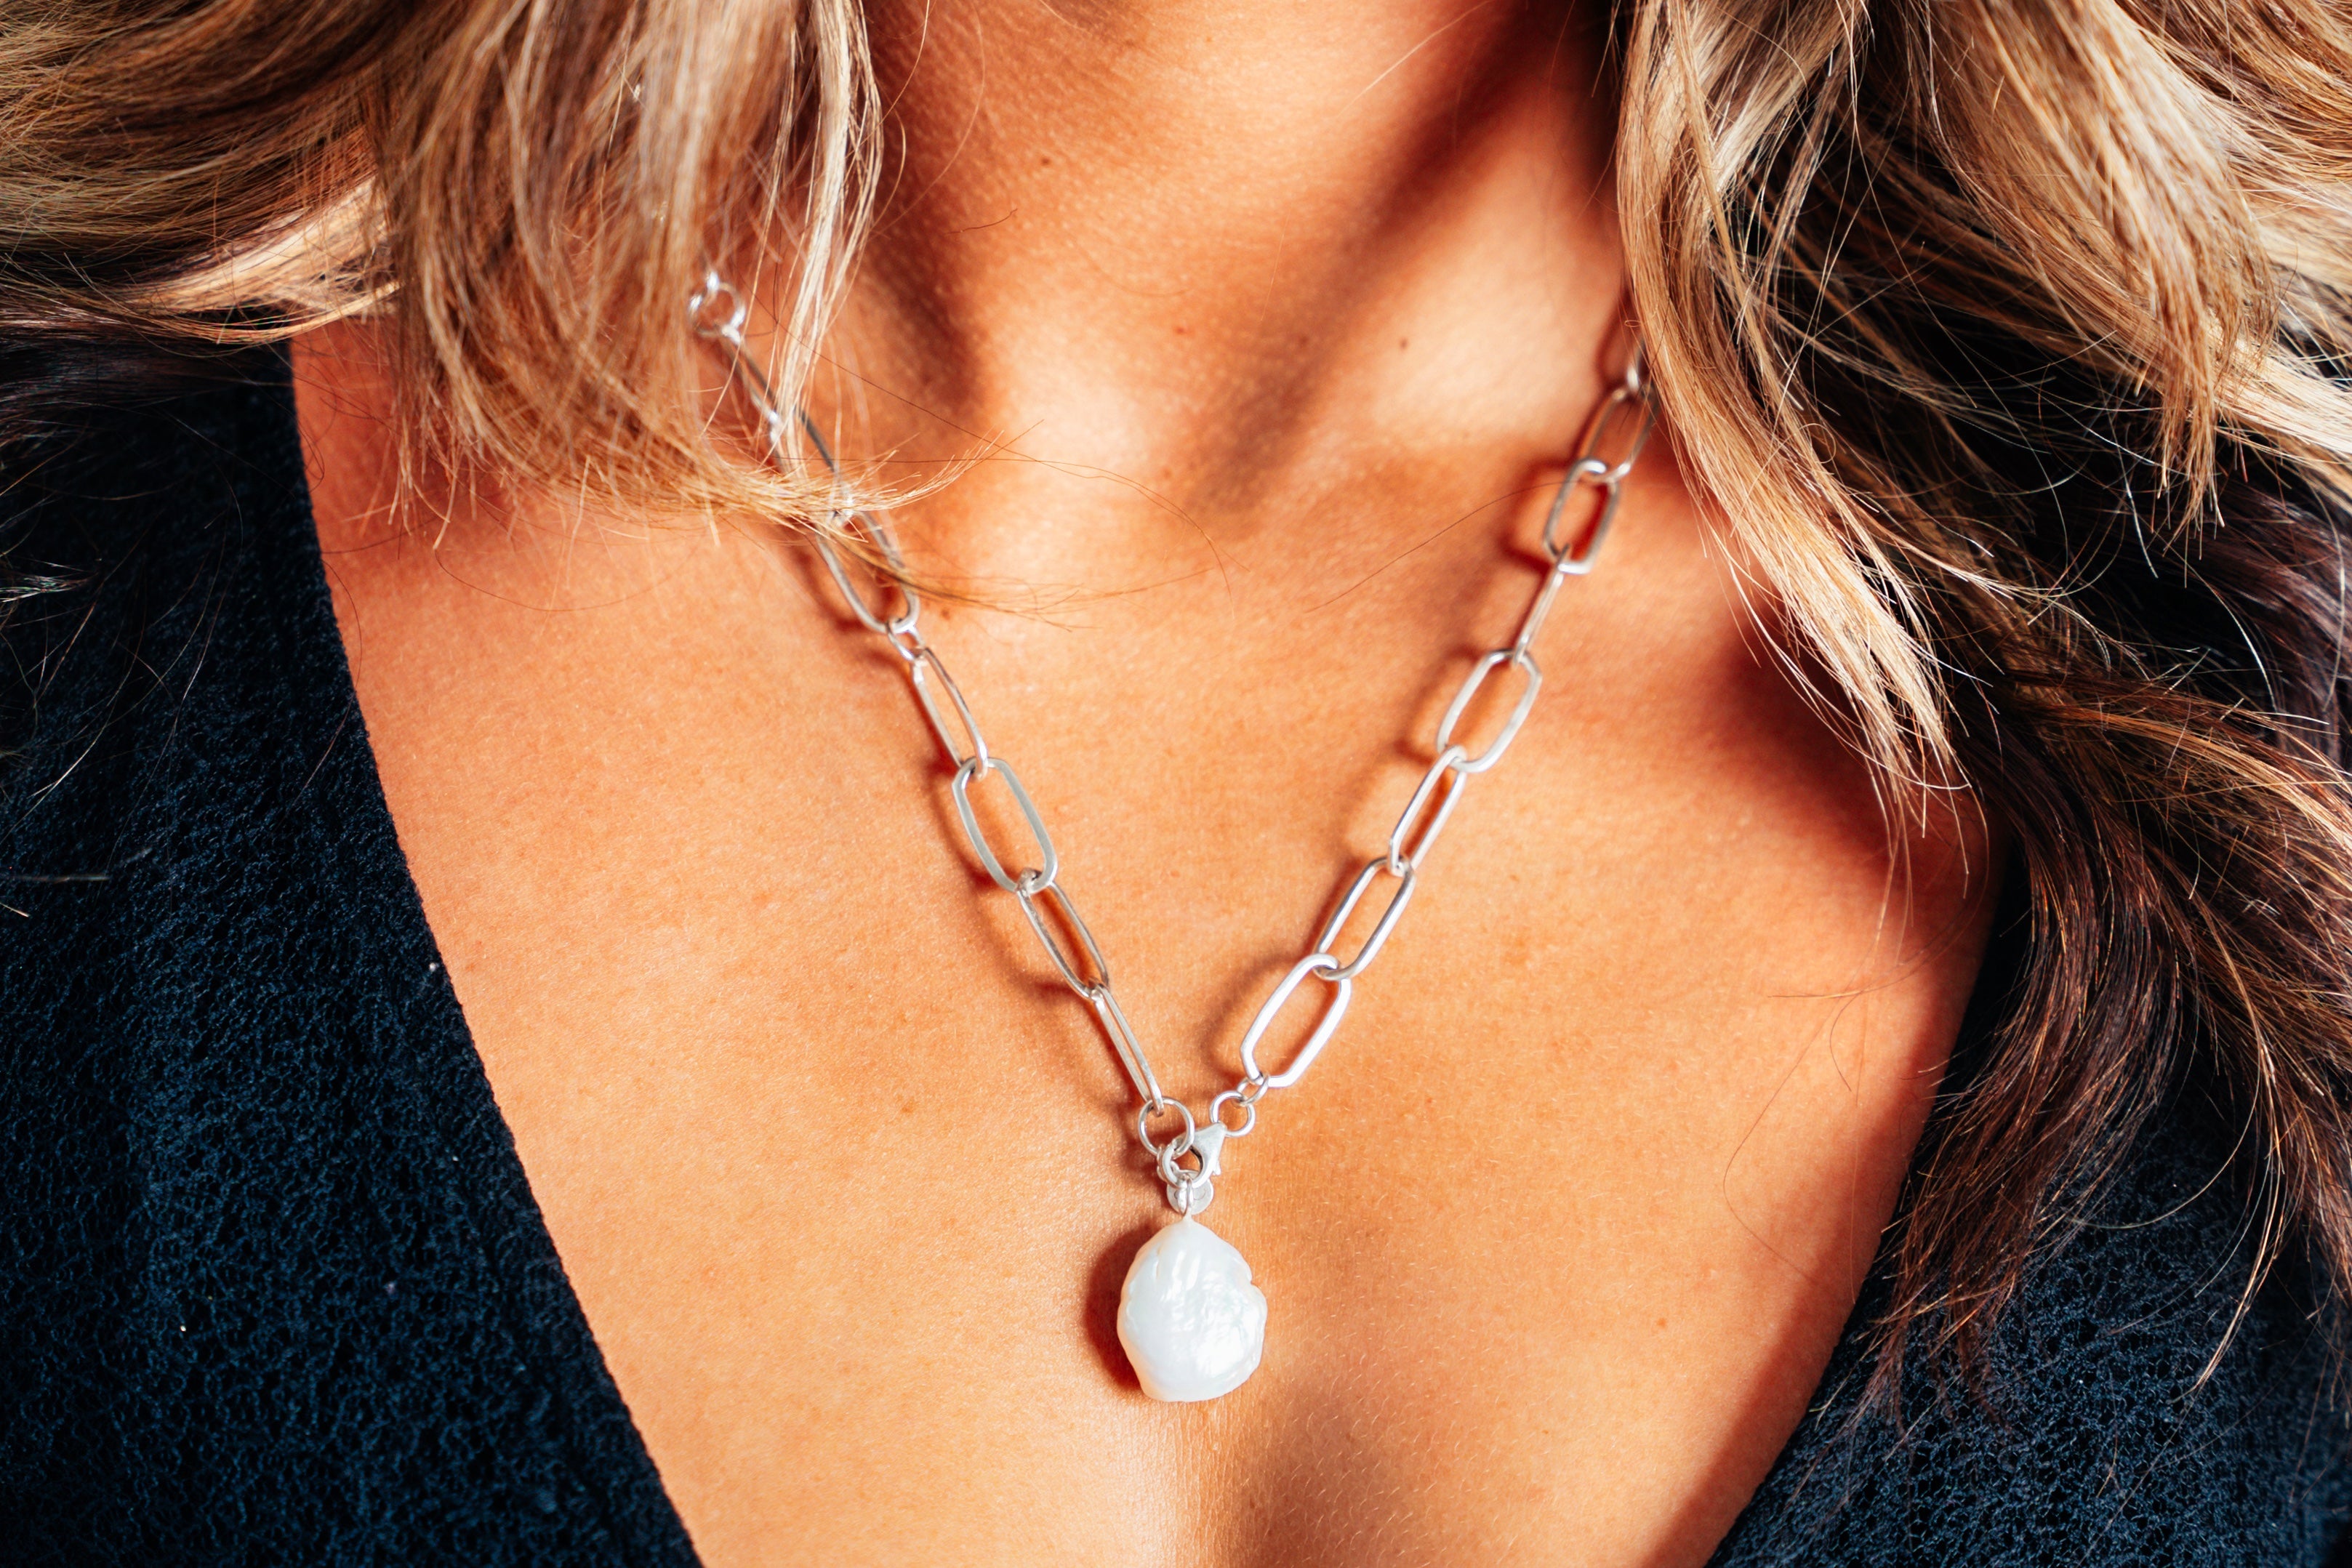
Silver Paperclip Chain Necklace →
- Bicarbonate of soda (baking soda)
- Aluminium foil
- A shallow bowl, glass or ceramic
Skip anything abrasive: scouring pads, steel wool and rough sponges all scratch the silver surface. Skip chlorine-based cleaners too, since chlorine attacks silver.
Rinsing, Drying, and Polishing Silver with a Soft Cloth
Rinse every trace of the cleaning solution away under lukewarm water. Residue left on the metal dulls it again within days.
Dry the piece fully with a soft cloth, then leave it on a towel for ten minutes to air.
A common mistake is polishing a wet piece. Water plus friction pushes residue into the surface, and the shine never quite comes up.
Jewellery-Specific Exclusions and Construction Risks
Not every piece should go near water or bicarbonate of soda. Check the construction before you clean.
- Pearls: never soak. Wipe with a barely damp soft cloth only.
- Porous stones such as opal, turquoise and malachite: keep away from the bath and the paste.
- Glued settings: hot water can soften the adhesive.
When in doubt, clean only the plain silver areas and leave the rest alone. It is far easier to clean a piece again than to repair a loose stone or a stripped finish.
Methods to Avoid and When Home Cleaning Is Not Enough
Knowing what not to do saves more silver than any cleaning method. Most permanent damage to jewellery comes from an over-enthusiastic home clean, not from the tarnish itself.
Methods to avoid, and what they actually do
- Toothpaste. It contains mild abrasives and foaming agents. On polished sterling silver it leaves a fine haze of scratches that shows up under bright light, and repeated use dulls the surface permanently. It is also hard to rinse completely out of settings.
- Bleach and chlorine-based cleaners. Chlorine attacks silver and can pit it, and the damage is not reversible by polishing. Keep silver away from bleach, chlorinated water and most bathroom cleaners.
- Silver dip on stones. Liquid dips are fast on plain silver but aggressive on porous stones, pearls and some adhesives. Use them only on plain metal, and follow the maker's timing exactly rather than leaving the piece in longer.
When home cleaning is not enough
Stop and seek a professional in any of these situations:
- The metal is pitted, rough or flaking. This is corrosion or wear, not tarnish. Polishing removes more metal and makes the damage worse.
- The tarnish sits under a stone or inside a closed setting. You cannot reach it without removing the stone, which is a jeweller's task.
- Plating is worn or patchy. Cleaning can strip the remaining layer and expose the base metal.
A professional jeweller can clean, re-polish and check settings in one visit, and will tell you honestly whether a piece is worth restoring. For anything sentimental or valuable, that assessment is cheaper than repairing a mistake.
Prevention is the real fix
Tarnish is a reaction between silver and sulfur compounds in the air, so the aim is to limit exposure. Store pieces in an airtight bag or a lined jewellery box, keep them away from damp and direct light, and avoid storing silver against rubber bands, wool or newspaper, which can accelerate darkening. Wear perfume and hairspray before putting jewellery on, not after, and give pieces a quick buff with a polishing cloth after each wear.
Frequently Asked Questions
Can silver be permanently tarnished?
No, tarnish is a surface layer and can always be removed. Heavy tarnish that has built up over months or years may need repeated gentle treatments or professional cleaning, but the silver underneath is not permanently damaged. The exception is when tarnish is mixed with deep scratches or worn plating on non-sterling pieces. For solid sterling silver, such as the handcrafted pieces from SilverStory, the metal can be restored to its original shine with the right method.
My silver chain has gone black. How can I fix it?
A blackened silver chain usually has heavy tarnish, which is common on chains because their many links trap moisture and sulphur compounds. Start with the baking soda, aluminium foil, and hot-water method: line a shallow bowl with foil, add boiling water and bicarbonate of soda, then soak the chain for two to three minutes. Rinse with lukewarm water, dry thoroughly with a soft cloth, and buff gently. For stubborn black spots, follow with a small amount of baking soda paste on a soft cloth.
Can baking soda damage sterling silver jewellery?
Baking soda is safe for solid sterling silver when used gently. Avoid scrubbing with an abrasive cloth or a stiff brush, as this can scratch the surface. Do not use the foil method on pieces with pearls, opals, or glued stones, because heat and the cleaning solution can loosen settings or damage porous gems. Rinse thoroughly after cleaning to remove all residue, then dry completely before storing. If a piece has a vintage finish or oxidation details, keep baking soda away from those areas.
When should I take tarnished silver jewellery to a professional?
See a professional jeweller if the tarnish does not lift after two gentle home treatments, if the piece has deep scratches or dents, or if it contains delicate stones, pearls, or antique finishes. Also seek help if the silver is plated rather than solid sterling, as harsh cleaning can wear away the plating. A jeweller can use ultrasonic cleaning or professional polishing compounds that are not available for home use, and they can check settings for looseness before cleaning.
Heavy tarnish on a well-made piece is a temporary problem, not a permanent one. The trick is matching the method to the tarnish and knowing when to stop. At SilverStory, our handcrafted sterling silver pieces are made to be worn and treasured for years, and a little care keeps them shining. Explore our ethically sourced rings, necklaces and bracelets, and find a piece worth looking after. Add to cart and start your collection today.