How to Find Ring Size Using a Printable Chart
Table of Contents
- Why a Printable Ring Size Chart Matters
- What You'll Need Before You Start
- How to Measure Ring Size With String
- Using Your Measurement With a UK Ring Size Conversion Chart
- Measuring an Existing Ring for Accurate Sizing
- Factors That Affect Your Ring Size
- Ensuring Your Printable Chart Is Calibrated Correctly
- Common Mistakes to Avoid
- Frequently Asked Questions
Last Updated: September 30, 2026
Why a Printable Ring Size Chart Matters
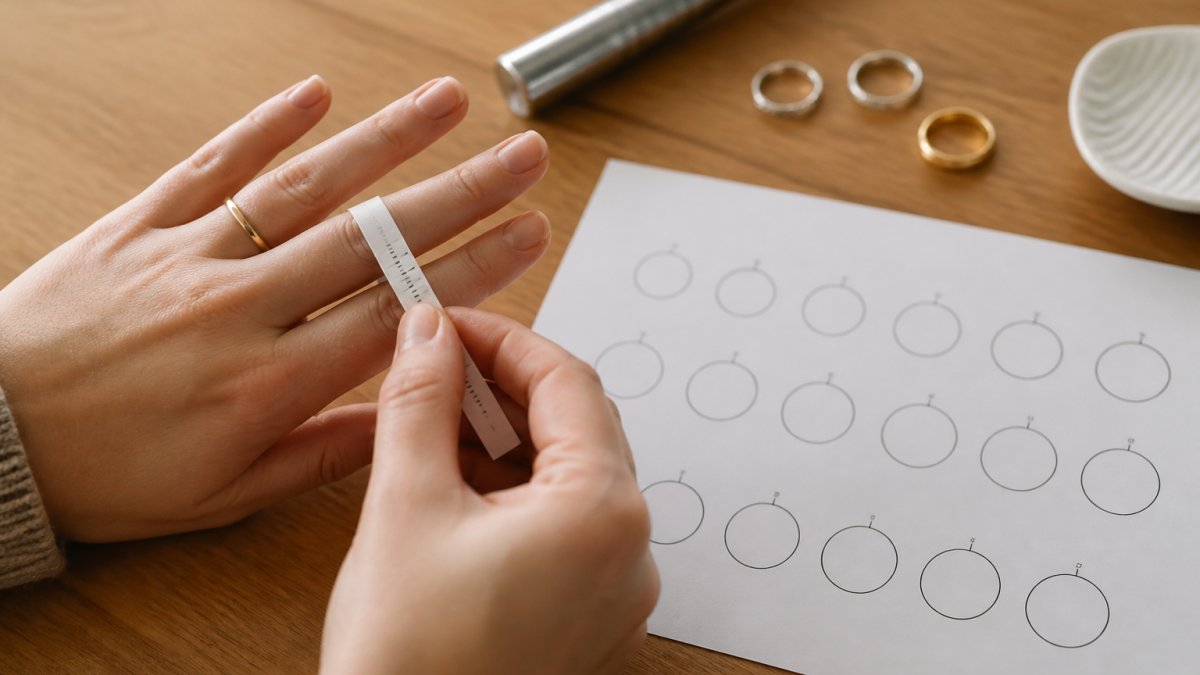
Learning how to find ring size using a printable chart gives you a precise, at-home measurement tool that works. Order a ring too loose and it slides off; too tight and it won't fit over your knuckle. A printable chart eliminates guesswork.
With a printable chart, you control the accuracy using a physical template scaled to actual measurements. This matters when buying handcrafted jewellery like SilverStory's artisan rings.

What You'll Need Before You Start
Before you begin measuring, gather these simple items:
- A piece of string or thin yarn (about 20 centimetres long)
- A ruler or measuring tape marked in millimetres
- A printer and A4 paper
- A pen or marker to mark your measurement
- An existing ring that fits well (optional, but helpful)
- Access to a UK ring size conversion chart
Use yarn rather than thread, it's thicker and easier to mark. A ruler showing millimetres clearly is preferable to a tape measure.
How to Measure Ring Size With String
This method takes about five minutes and gives you an accurate measurement for any UK ring size conversion chart.
Step 1: Gather Your Materials
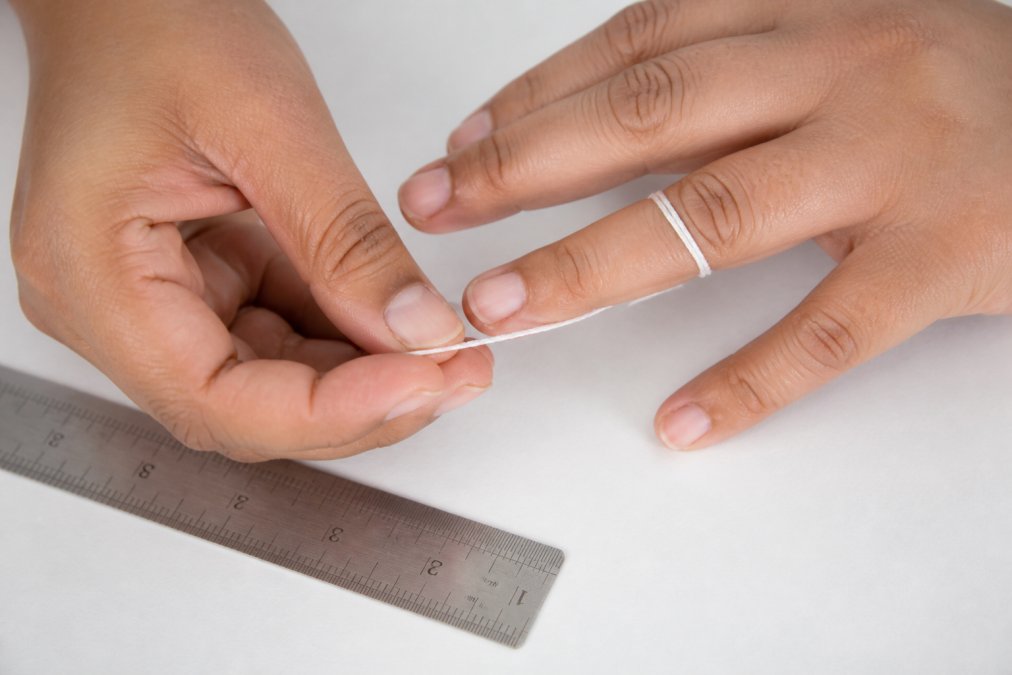
Gather your string, ruler, and pen. Measure when your finger isn't swollen, temperature and activity level affect size. Cut a piece of string about 20 centimetres long, flexible enough to bend without creasing.
Step 2: Wrap and Mark
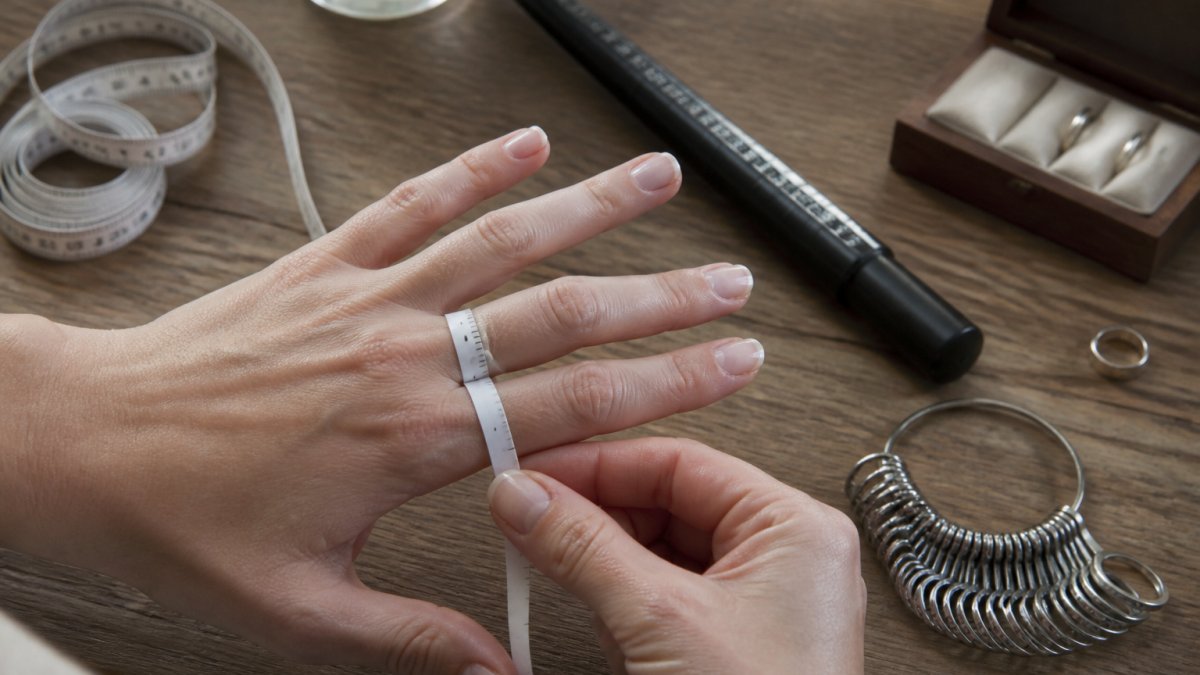
Wrap the string gently around the base of the finger where you want to wear the ring, snug but comfortable, with room to slide a thin piece of paper underneath. Mark where the string overlaps, then remove and lay it flat.
Step 3: Measure Against a Ruler
Measure the marked string against a ruler to get your finger circumference in millimetres. For example, 57mm converts to UK size J.
Using Your Measurement With a UK Ring Size Conversion Chart
A UK ring size conversion chart translates your circumference measurement into the standard sizing system. Find your millimetre measurement on the chart and read across to find your ring size.
Here's a quick reference for common UK sizes:
| UK Ring Size | Circumference (mm) | Diameter (mm) |
|---|---|---|
| H | 53.5 | 17.0 |
| I | 54.2 | 17.3 |
| J | 57.0 | 18.1 |
| K | 60.3 | 19.2 |
| L | 61.0 | 19.4 |
| M | 63.8 | 20.3 |
| N | 66.6 | 21.2 |
| O | 69.4 | 22.1 |
Measuring an Existing Ring for Accurate Sizing
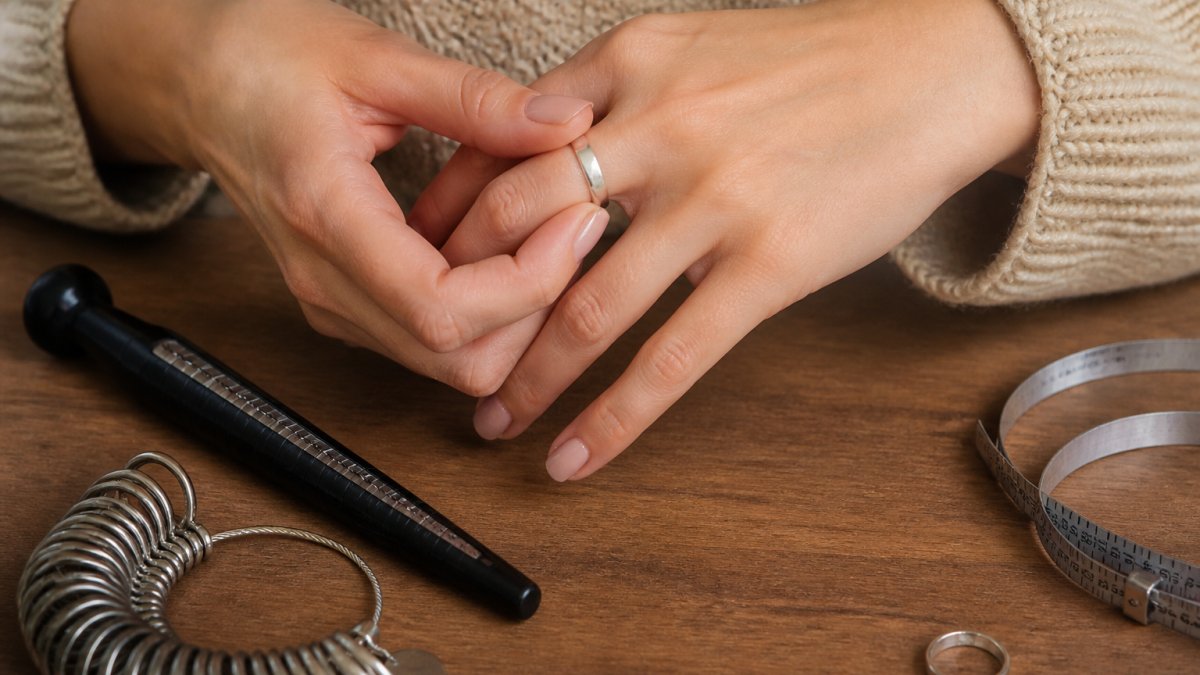
If you own a ring that fits perfectly, measure its inside diameter in millimetres and use a conversion chart to find the corresponding UK ring size. A diameter of 18.1mm, for example, corresponds to UK size J. This method works well for buying gifts, simply borrow a ring they already wear and measure it.
Factors That Affect Your Ring Size
Your finger size changes throughout the day and across seasons. Different parts of your finger have different circumferences, and your ring must fit all of them.
Knuckle Size: The Hidden Measurement Most Guides Miss
Your knuckle is almost always larger than the base of your finger. A ring sized only to your finger base will slide on easily but get stuck when you try to pull it over your knuckle.
How to measure your knuckle:
- Wrap your string around the widest part of your knuckle, the point where your finger bends when you make a fist. This is typically about 1-2 centimetres above where you'd normally wear a ring.
- Mark the string where it overlaps, just as you would for your finger base.
- Measure this circumference against your ruler.
- Compare both measurements (finger base and knuckle) on your UK ring size conversion chart.
- Use the larger measurement. Your ring size should accommodate your knuckle, not your finger base.
Temperature and Time of Day
Fingers swell in warm weather and contract in cold. They also swell slightly during the day and are smallest first thing in the morning. Measure in the afternoon or evening when your finger is at its normal size, not immediately after waking or after exercise. If you live somewhere with significant seasonal temperature variation, measure during a moderate season (spring or autumn) rather than the height of summer or depth of winter.
Activity Level and Swelling
Physical activity increases blood flow and causes swelling. Avoid measuring right after a workout, run, or any strenuous activity. Wait at least an hour for your finger to return to normal. Some people experience swelling related to their monthly cycle, diet, or sodium intake. If you notice your fingers swell regularly, measure during a time when you feel normal and not bloated.
Band Width and Material
Wider bands feel tighter than narrow bands at the same circumference. If you're buying a wide band ring, you might want to size up slightly for comfort. A 10mm hammered band, for instance, will feel noticeably snugger than a delicate 2mm band at the same ring size.
Taking These Factors Into Account
Measure at a time when your hand is at rest, your finger is at normal temperature, and you've accounted for both your finger base and knuckle circumference. If you're between sizes or unsure, size up rather than down, a ring that's slightly loose is far more wearable than one that won't fit over your knuckle.
Ensuring Your Printable Chart Is Calibrated Correctly
A printable chart is only accurate if your printer outputs it at 100% scale. Many printers default to shrinking documents to fit the page, which throws off all your measurements by 5-15%, rendering your ring size calculation useless.
Why Calibration Matters
If your chart prints at 95% of actual size, every measurement you take will be 5% too small. A finger circumference you measure as 57mm will actually be 60mm, pushing you up a full ring size. The opposite happens if your printer enlarges the document. This is why calibration verification is non-negotiable.
How to Verify Your Printer's Scale
Before you measure your finger, print a test page to confirm your printer is set correctly.
Step 1: Check printer settings before printing
Open the print dialogue on your computer. Look for any of these options:
- "Scale" or "Scaling"
- "Fit to page" or "Shrink to fit"
- "Page sizing" or "Size options"
- "Print quality" or "Page setup"
Step 2: Print and measure the test square
- Print the chart on A4 paper.
- Using a ruler marked in millimetres, measure the width of the test box (or any marked dimension on the chart).
- Compare your measurement to what the chart states.
Step 3: Troubleshoot if calibration is off
If your test measurement doesn't match:
-
Return to print settings. Delete any previous print jobs from your queue. Open the print dialogue again and explicitly select "Actual size" or "100%." Some printers remember the last setting and revert to it automatically.
-
Check your PDF viewer. If you're printing from a web browser or PDF reader, the software itself may be scaling. Try opening the file in a different application (e.g., Adobe Reader instead of your browser's PDF viewer) and print from there.
-
Adjust manually if needed. If your printer consistently scales documents, note the percentage. If your test box measured 19mm instead of 20mm, your printer is at 95%. When you measure your finger, multiply your final circumference by 1.05 to correct for this. (For example: 57mm × 1.05 = 59.85mm, which you'd round to 60mm.)
-
Print again. After adjusting settings, print a fresh test page and verify the calibration before measuring your finger.
Why This Step Saves Time and Money
Taking two minutes to verify calibration prevents ordering a ring that doesn't fit. A ring that's too loose slides off; one that's too tight won't go on past your knuckle. Both require returns, exchanges, or resizing, costs and delays you can avoid by confirming your chart is correct before you begin.
Common Mistakes to Avoid
The most common mistake is measuring too tightly. Your ring shouldn't cut off circulation or leave marks on your finger. It should slide on with gentle pressure and sit comfortably. If you measure while pulling the string tight, you'll end up with a ring that feels uncomfortably snug.
Frequently Asked Questions
How do I ensure my printable ring sizer is printed to scale?
Before using your printable chart, verify calibration by printing it and measuring the scale line with a ruler. Most printable ring size charts include a reference line (typically 10 mm or 1 cm) at the top. If your ruler measurement matches exactly, the scale is correct. If it's off, adjust your printer settings, check that 'scale to fit' or 'fit to page' is disabled, and ensure you're printing at 100% actual size on A4 paper. Recalibrate before measuring your finger.
Should I measure my finger at different times of the day?
Yes. Fingers swell slightly throughout the day due to temperature, activity, and hydration. Measure in the evening when your finger is at its largest, or measure multiple times and average the results. If you're between sizes on your UK ring size conversion chart, choose the larger size for comfort, especially if you wear the ring daily. This prevents the ring from feeling uncomfortably tight at certain times.
Can I measure an existing ring that fits well instead of measuring my finger?
Absolutely. Measuring an existing ring is often more accurate. Lay the ring flat on a ruler and measure the inner diameter in millimetres. Then use your UK ring size conversion chart to match that measurement to your size. This method avoids the variables of finger swelling and knuckle size, making it ideal for ordering rings online when you want a guaranteed fit.
What's the difference between a loose fit and a tight fit when using a printable chart?
A loose fit allows the ring to move slightly on your finger, useful for rings worn occasionally or stacked with others. A tight fit sits snug without rotating. When measuring with a string, a loose fit means wrapping the string comfortably around your finger with slight give; a tight fit means wrapping just snug enough that it doesn't slide. Most people prefer a fit between these two extremes. If your measurement falls between two sizes, choose based on how you plan to wear the ring.